async='async' data-ad-client='ca-pub-1704385665578974' src='https://pagead2.googlesyndication.com/pagead/js/adsbygoogle.js'/> October 2020 - Welch House 1900

Marie Antoinette Halloween


Welcome to my Marie Antoinette Halloween! My library seemed like the perfect backdrop for my Marie Antoinette skeleton. I came up with this idea randomly when I came across an old Marie Antoinette wig from years past. I plopped it on my skeleton... and Ooh La La  you have a perfect french queen!


Now I know that Marie Antoinette loved her sweets, especially cake. I was super excited that I kept my faux wedding cake from last years Halloween, it would be perfect! I decide to top it with florals, ostrich feathers, and a porcelain venetian lady figurine.


    I also had a faux cupcake from last year, and this rat decided to take a bite.


The rats have totally taken over Marie's cake table.


I found this sweet antique doll over the summer. I decided to set her out because some may find her a bit spooky, although I don't.


She is missing her eyes, but it still think she's sweet.


Marie is busy relaxing in her golden throne chair.


She is enjoying a sip of tea.


I decided to create her a pair of shoes.


I spray painted them gold, and added lace trims and ribbons.


I think she approves.


Yep, she's smiling.


I think she's very comfortable in her French apartment.


A crow has decided to land on her  cobweb covered candelabra.


She's too busy to notice, because she has cake to eat.


Happy Halloween!


I will be back in the next few weeks with Christmas decor.


-Larissa


DIY Elegant Halloween Mirror


Today I want to share with you a creepy, but elegant Halloween DIY.  I like my Halloween decorations to be unique, spooky, but still have a touch of elegance. For several years now, I have been admiring Halloween mirrors on Pinterest, my favorites being the ones with protruding hands.


This Pinterest photo below was my inspiration. I knew I could recreate something similar with items already around my house. 


What you will need:

- Mirror

-Doll hands. Mine are from a barbie doll styling head. You can find these easily at thrift stores for cheap.

-Lace trims

-gray and black craft paint. I used the Apple Barrel brand from Walmart which was around 50 cents each.

-paint brush

-glue gun


I painted the hands a light gray, and I made sure to paint the nails black.


I have so many mirrors around my house. I chose two vintage mirrors that were thrifted years ago, which I hadn't found a use for yet. I also decided to lightly dry brush some black paint on the frame for an eerie feel.


Once the hands were dry, I found some delicate lace trim and hot glued it to the wrist of each hand.


The last step is to hot glue the hand to each mirror. For a firmer hold, I would suggest using E600 along with the hot glue.


To add more interest to your hands you could add a jewel to serve as a ring for one finger, or even have one of the hands holding a flowing white lace handkerchief as though it was getting ready to drop. You could even add a dainty spider to the handkerchief.


I decided to display my mirrors in the foyer. I added lots of black butterflies that I found on Amazon here.

I love this ethereal halloween look.


One butterfly even decided to land on one of the spooky hands...


I enjoyed creating this project! Maybe you have similar items already around your house to create a mirror of your own?


Thank you for stopping by!


-Larissa

DIY Crystal Balls

Halloween is almost upon us, and today I would like to share my dining room decor with you and also a crystal ball DIY.


Our maid Hagatha Christie, is back and resuming her duties this halloween season. 


I actually splurged a bit this year and ordered some new garlands and wreaths from Joann Fabrics. I love the color scheme of the rich burgundy mixed in with the soft pinks and blacks. 


Our sweet "little girl" loves to pose with the Halloween decor each year, she is the perfect Halloween decoration!


The last few years I've had the idea of making my own crystal balls for the Halloween season. I actually found a lamp (below) at the thrift store, and immediately I saw the potential for a crystal ball.  I had my husband remove the top section of the lamp and thats all it took create my one of a kind enchanted crystal! I know I paid under $10 for this lamp, which is such a great deal! It also has the most amazing fancy gold base.


I always find vintage silver plated casserole warmers or holders at the thrift store. The bases are usually intricate, pretty and very Victorian. One day it dawned on me, that these warmers would be the perfect bases for a crystal ball. 
I hit the jackpot over the summer when I came upon a booth at an antique store that had several of these warmers marked down to only $1 each! I snatched them all up!


I found this unique glass vase (Im really not sure what it is) at an antique store, and thought it would be ideal as a crystal ball. It fit flawlessly on my silver plated base. I then added twinkle lights for some magic and whimsy.


I was so excited that my pink skulls from last season fit perfectly into my new color scheme. I had to add a crown as well...spooky but pretty.


The next diy crystal ball was made by using a light fixture globe.


The globe started out white, but I sprayed it with RUST-OLEUM mirror effect paint. I really like the mirrored effect!  You can find this spray paint in my Amazon store here. The gorgeous brass base I randomly found while thrifting for just a couple of dollars.


This crystal ball was made using the same size light fixture globe, except that I left it with its original white finish. It was the perfect size for this Art Deco inspired warmer.


I have a few more silver bases that I wasn't able to find a crystal ball for as of yet. One is quite large, so I think this summer I will pick up a garden gazing ball for it.


The french buffet is dressed with garlands, glittered pumpkins and grapevine pumpkins. 


 I had to add twinkle lights here as well. I love the cozy feeling they provide.


I am happy with my DIY crystal balls. They are all unique and much cheaper than buying them from a retail store.


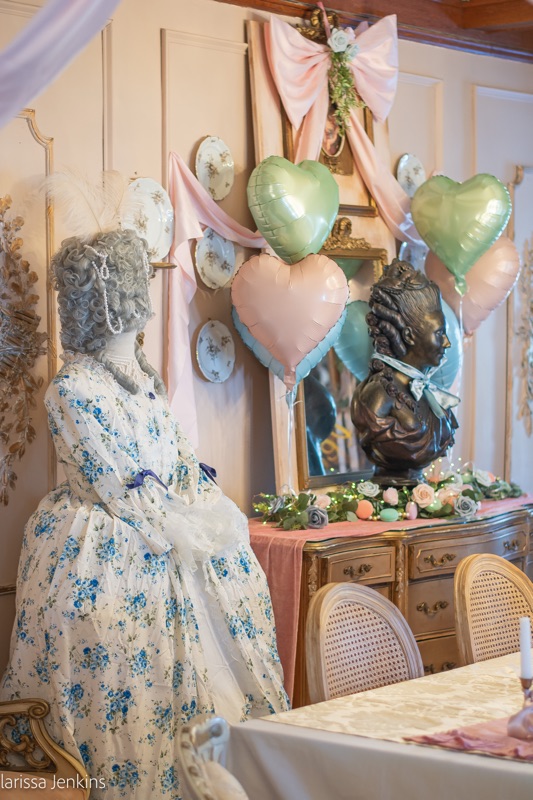
I love thrifting my Halloween decor. I choose things that are not actually halloween items, but items that can be repurposed into halloween decor. I love finding candelabras, busts, mirrors, old portraits, picture frames and more. All of these items can easily be turned into something elegantly spooky for Halloween, and when the holiday is over, they are once again a beautiful and functional piece of home decor.


I hope you now have some ideas to create your own elegant crystal balls. If you are on Instagram tag me at welch_house_1900 if you decide to make some of your own. I would love to see them!


Thank you so much for stopping by! I also have to apologize for the darker than normal photos. I edited them to be darker, for a spookier feel, but I think I over did it😞!


-Larissa