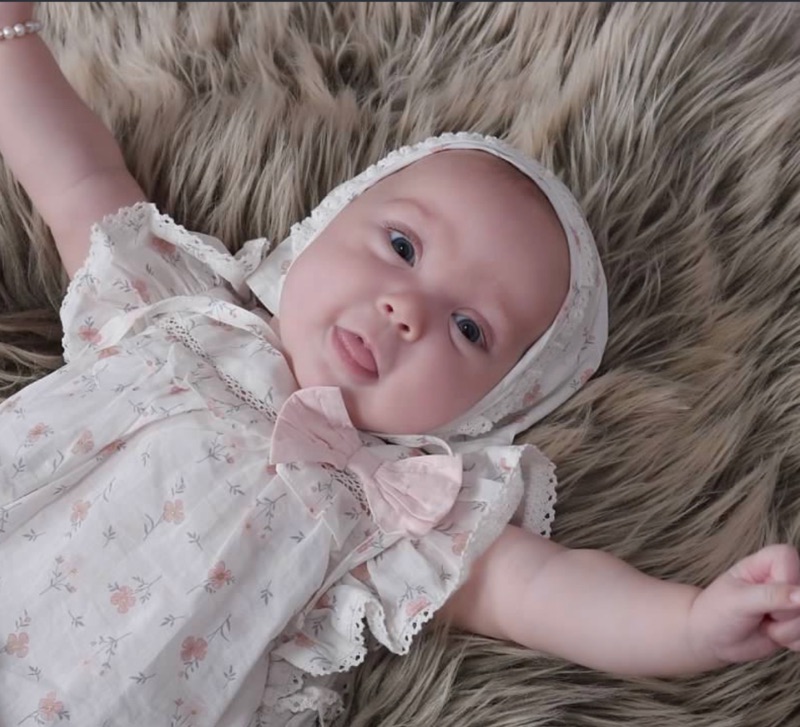
Well my baby girl is officially one year old!! Contessa Belle celebrated her first birthday in FEBRUARY….so this post is a little late.
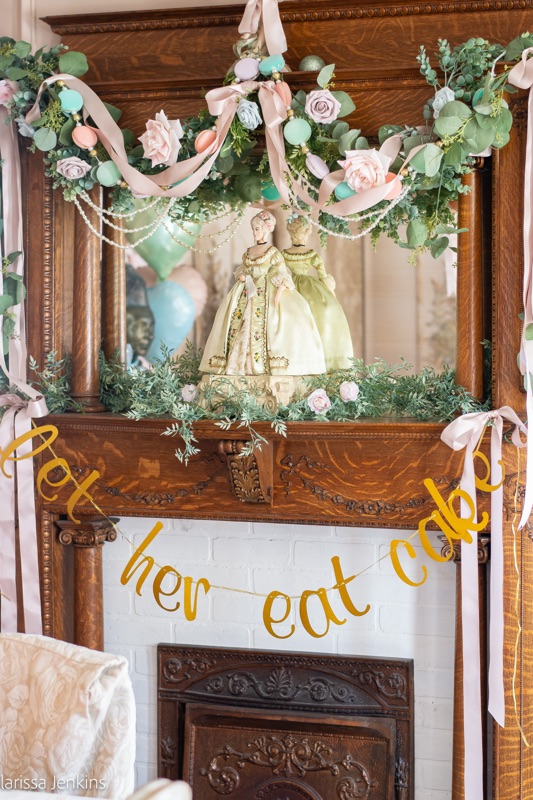
I wanted her first birthday to be Marie Antoinette inspired. “Let her eat cake” was the theme.
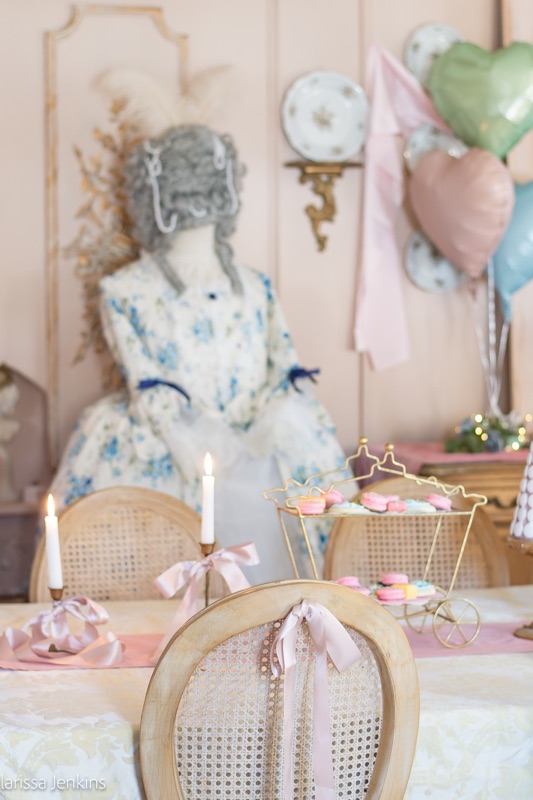
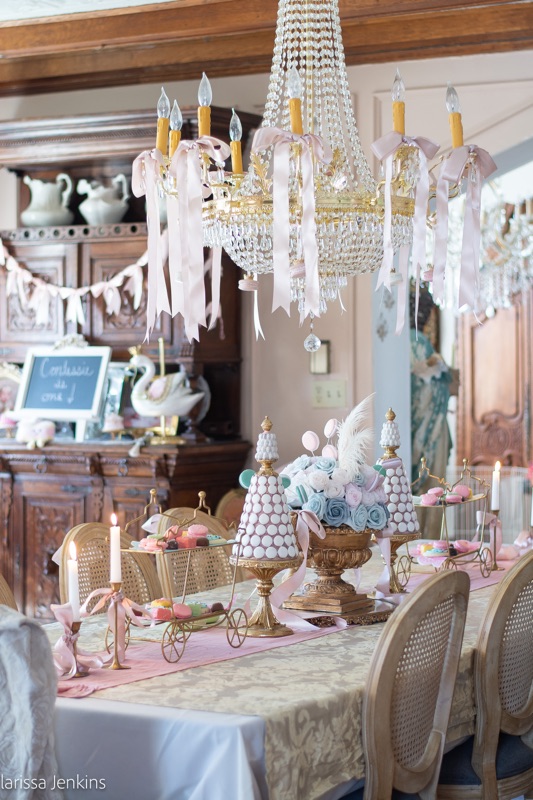
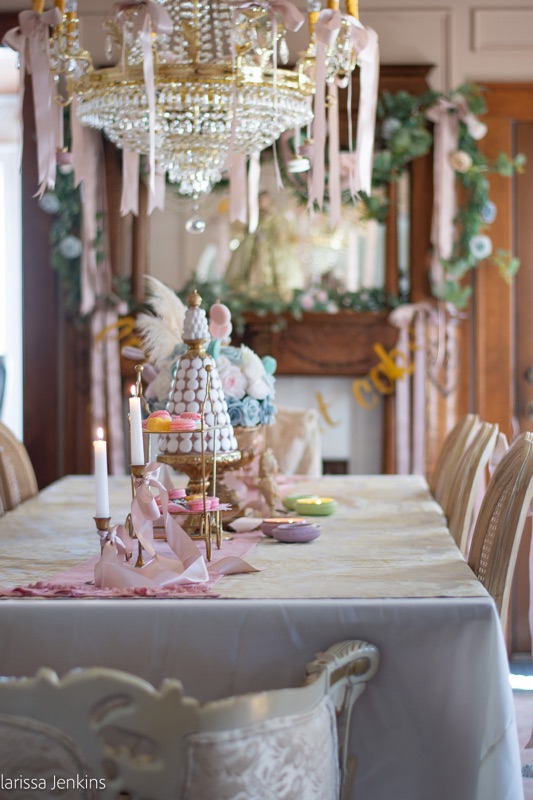
I didn’t want to spend tons of money, so I used a lot of what I already had. I did splurge on two carriage shaped tiered trays from Michael’s. They are adorable, but way overpriced in my opinion.
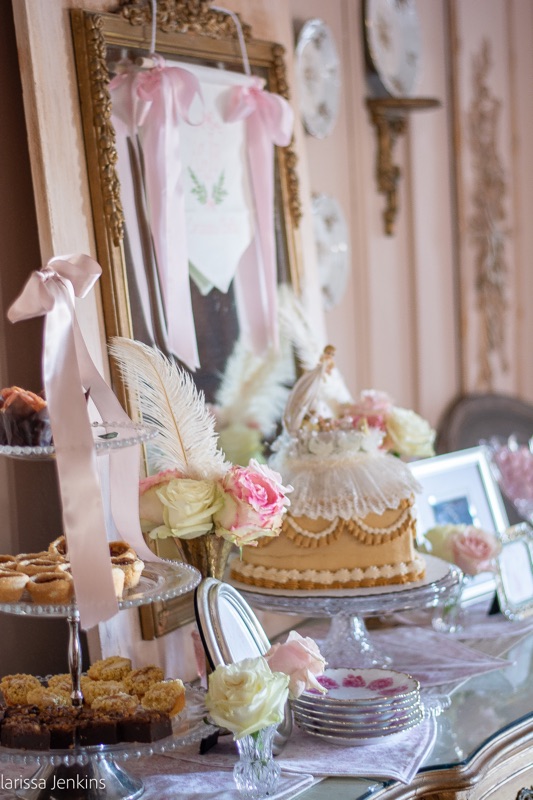
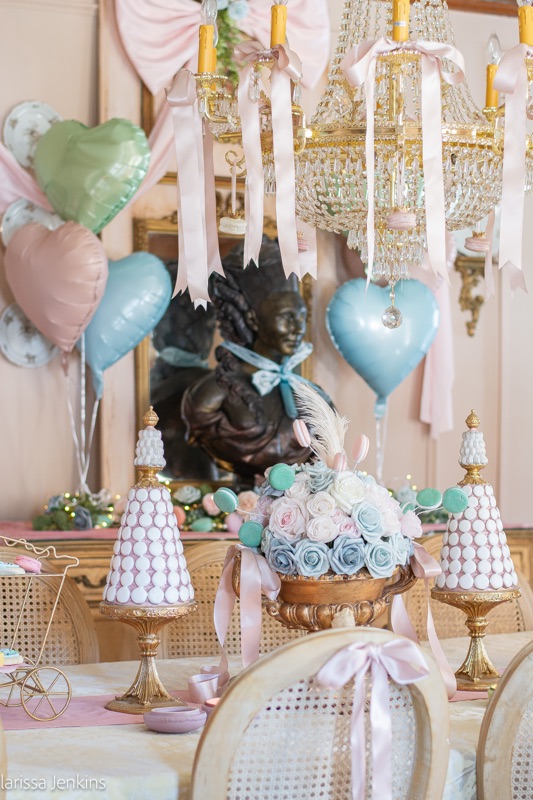
I filled the trays with pastel goodies, including petite fours and strawberry macarons for my little birthday girl.
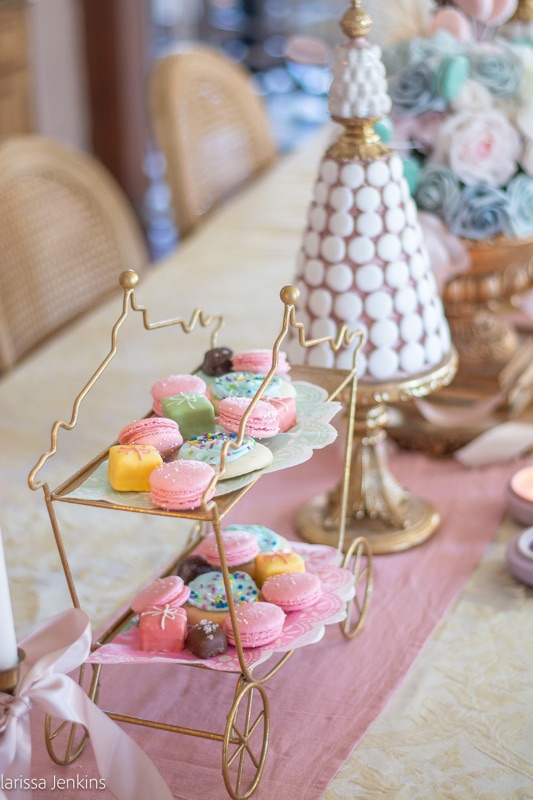
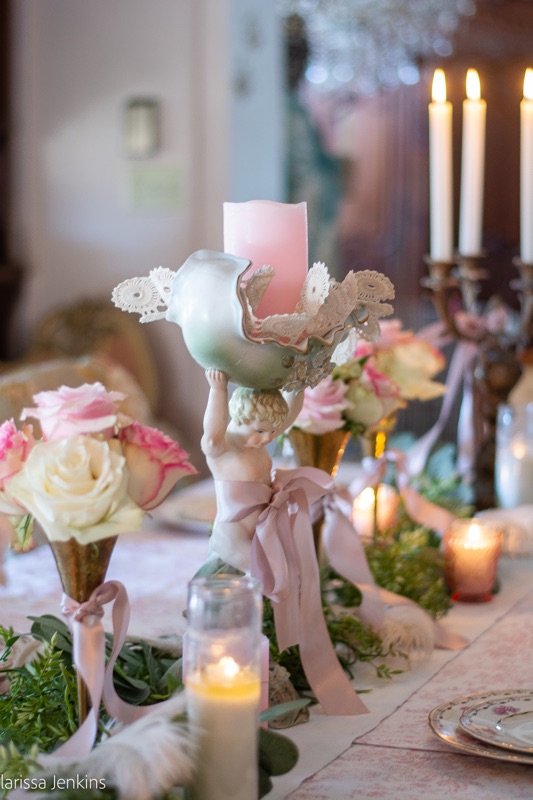
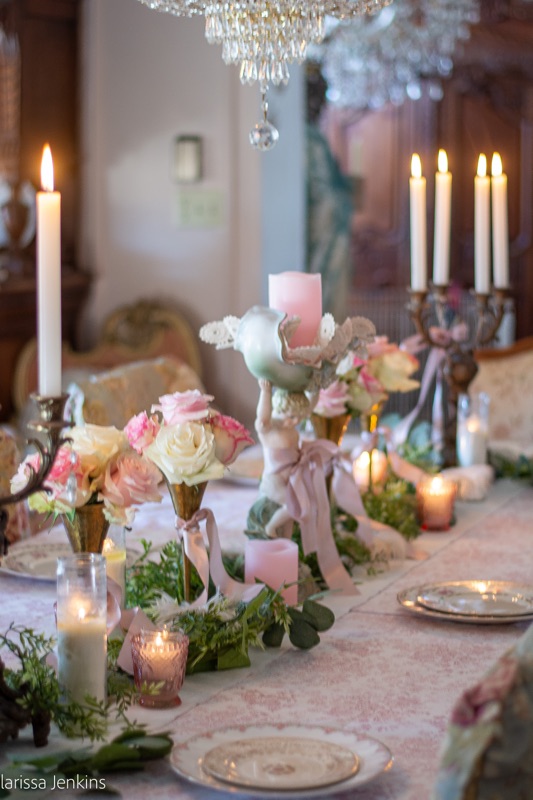
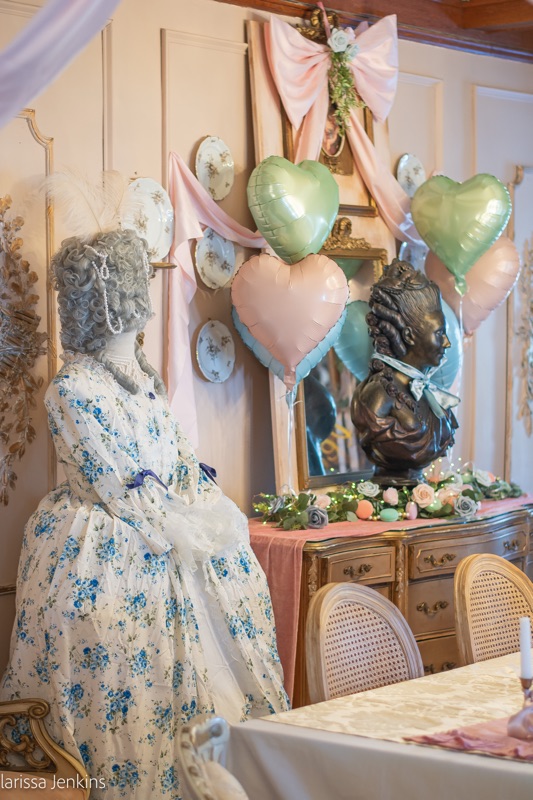
The large macaron topiaries I’ve had for several years now, and they looked perfect on the table. I filled a golden urn with all of my extra florals I had in my stash and came up with a floral arrangement. And of course we had Marie herself supervising the party from her place on the buffet. My Marie Antoinette costume from a Halloween past also came in handy for this party. I just plopped it on my dress form and it became an instant decoration!
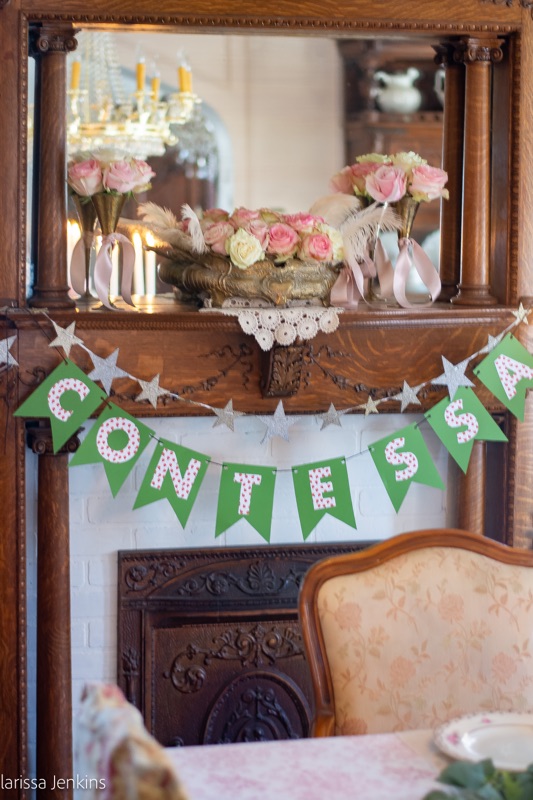
The mantel was adorned with flowers, ribbons, beads and macaron garlands. I bought the macaron garlands from Michaels while i was still pregnant with her, because I had my heart set on this birthday theme.
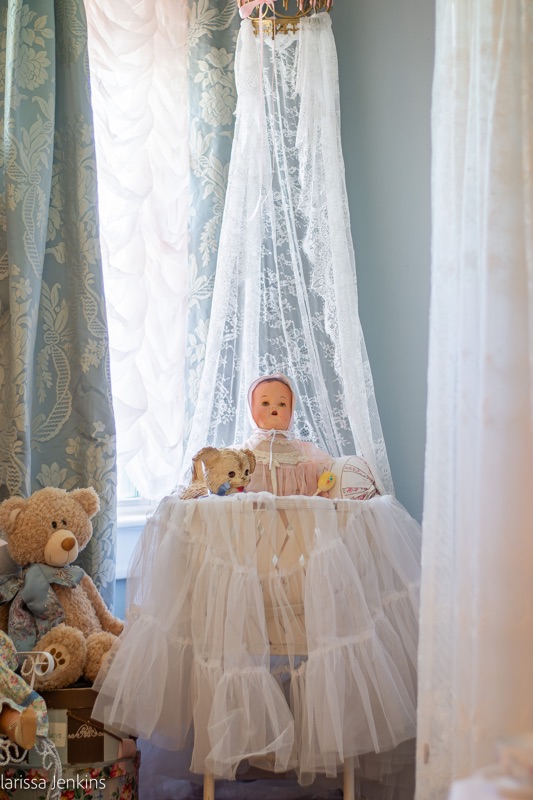
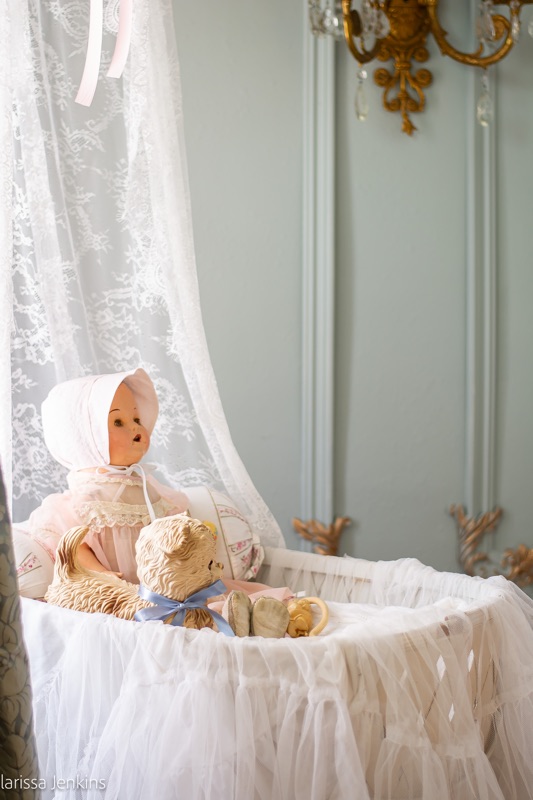
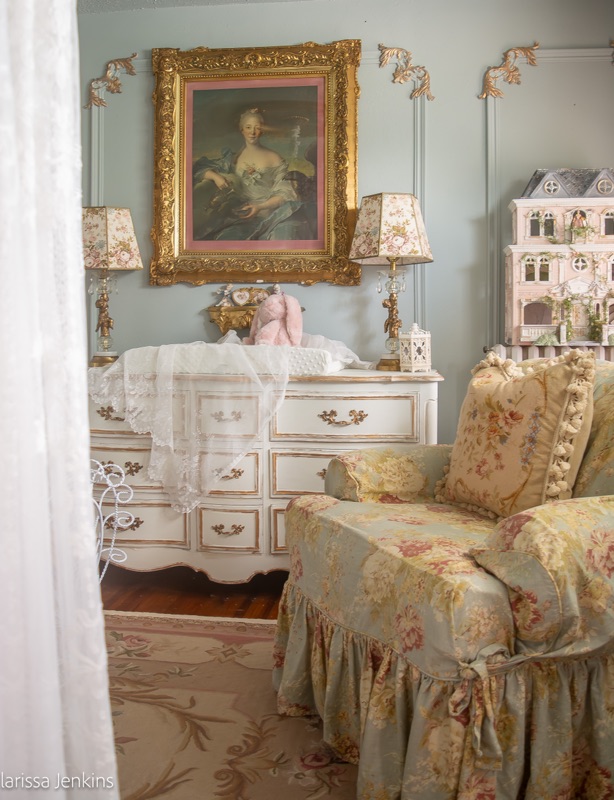
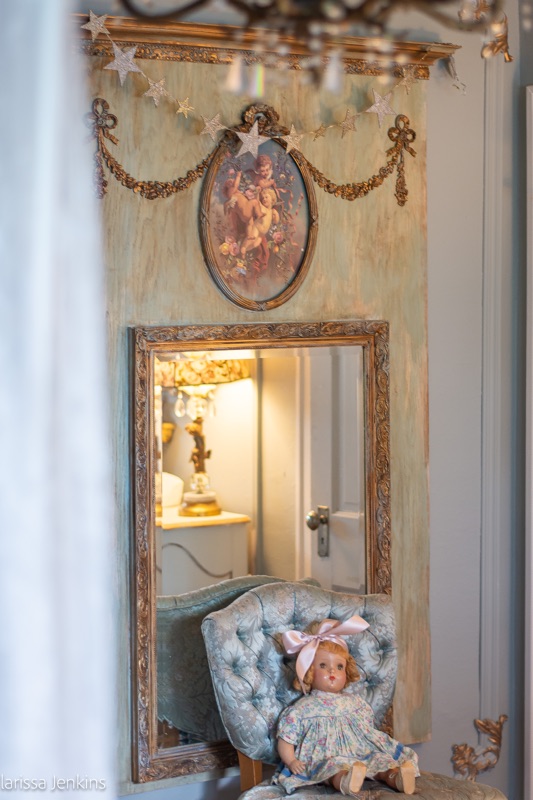
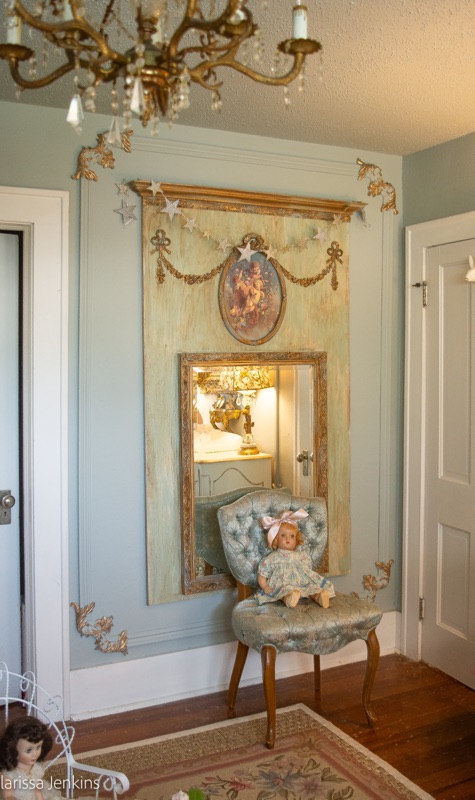
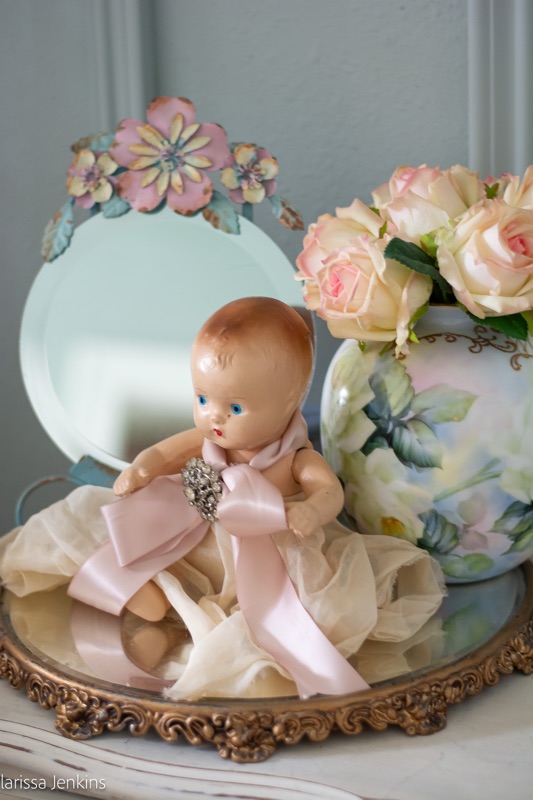
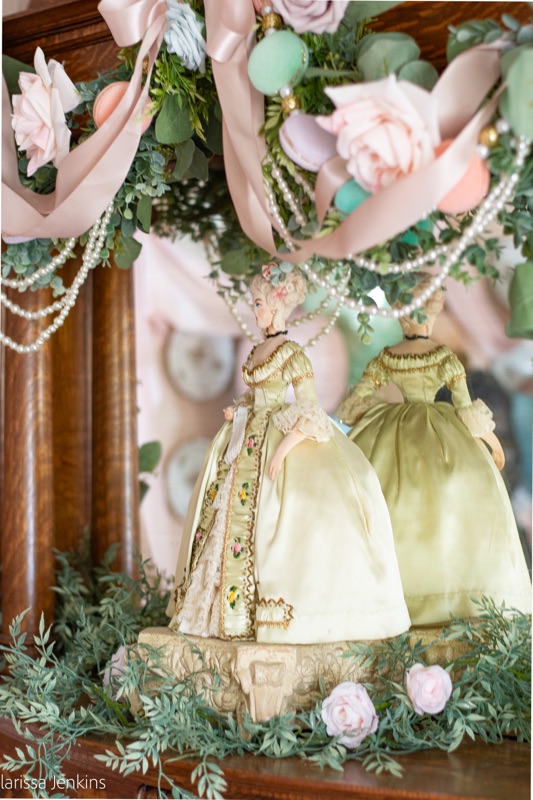
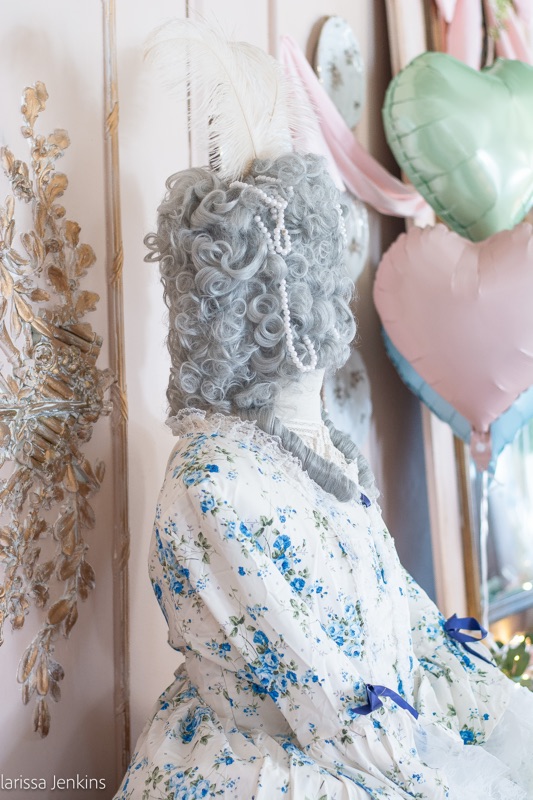
This doll is very unique. I found her at an antique store and just had to bring her home. Her dress was once a brilliant blue, but had faded overtime to green.
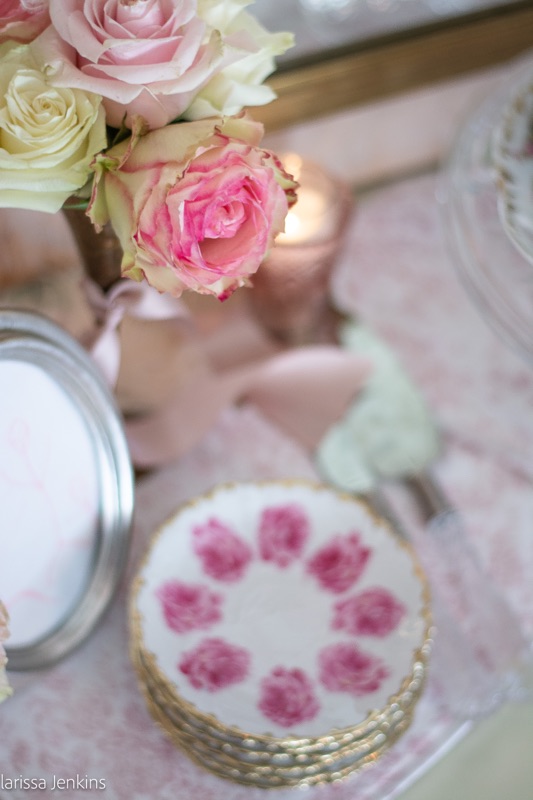
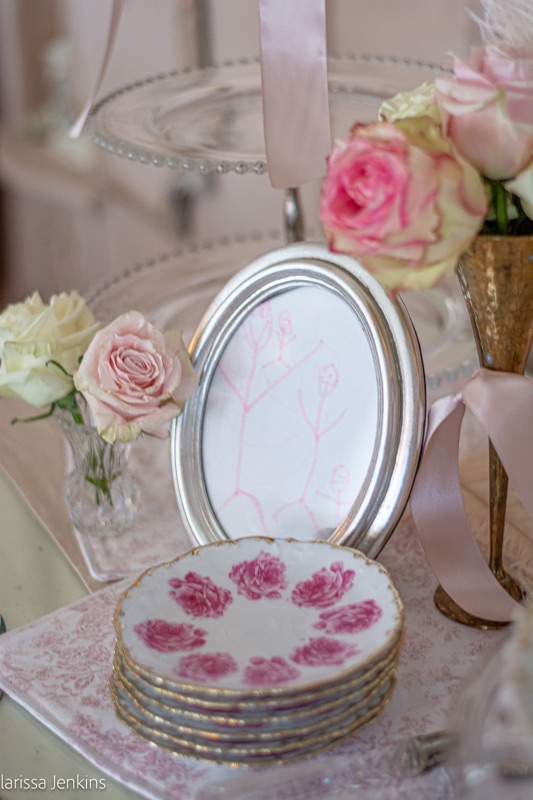
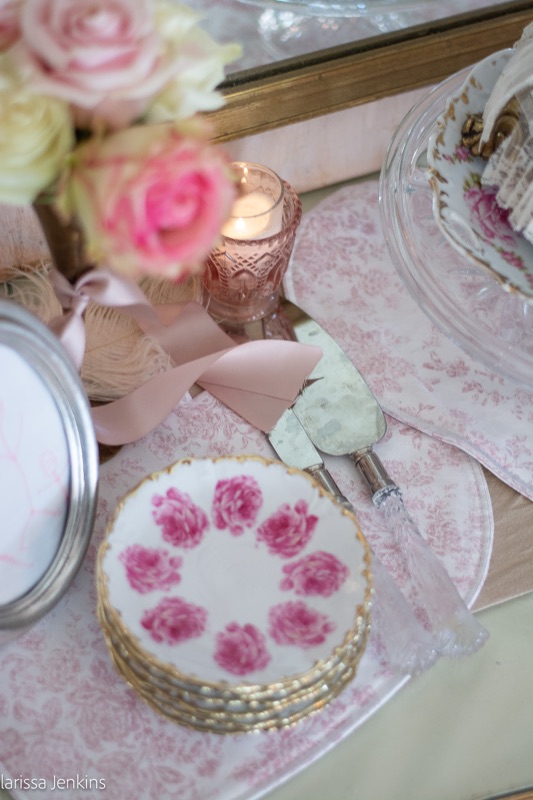
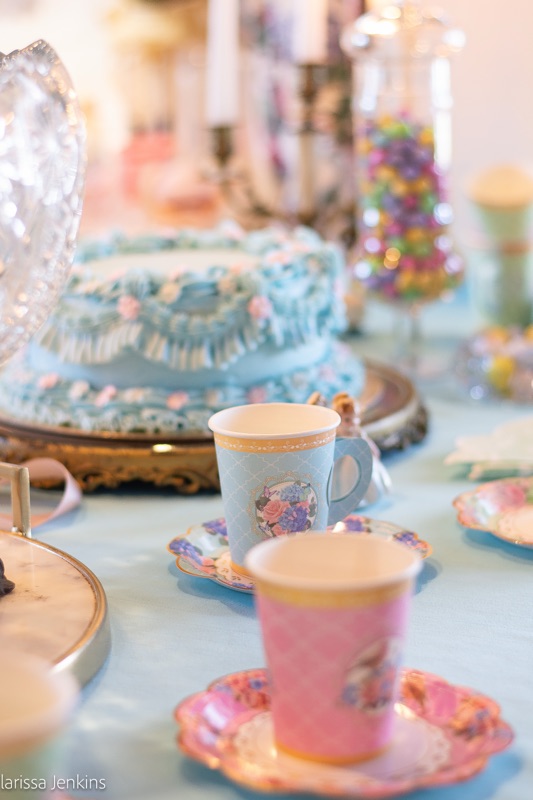
I really wanted to make the day as stress free as possible, so I purchased the sweetest paper plates and tea cups you ever did see! Look how darling!
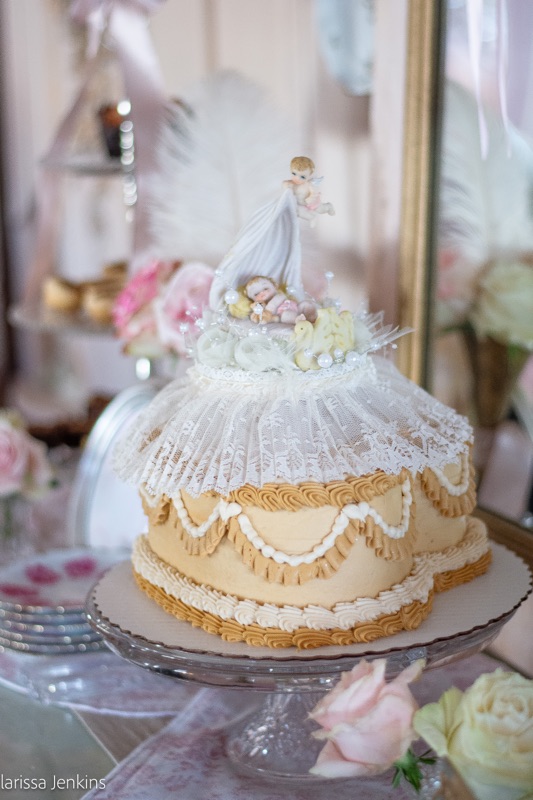
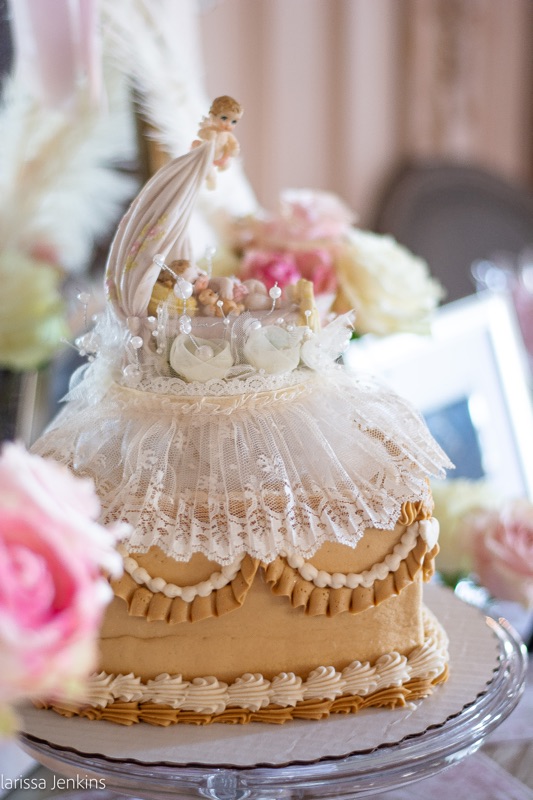
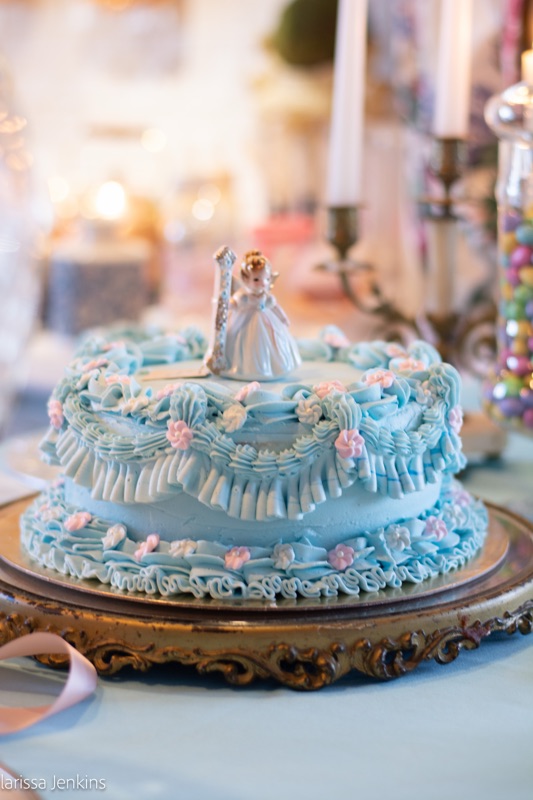
The cake I am most proud of. I had a vision in my head of what her cake would look like, and I think it came out perfectly! It was blue to match her dress, and had tons of ruffles with sweet little flowers that I made out of royal icing. I rarely make cakes anymore, so I was unsure if I would be successful, but I think I was!
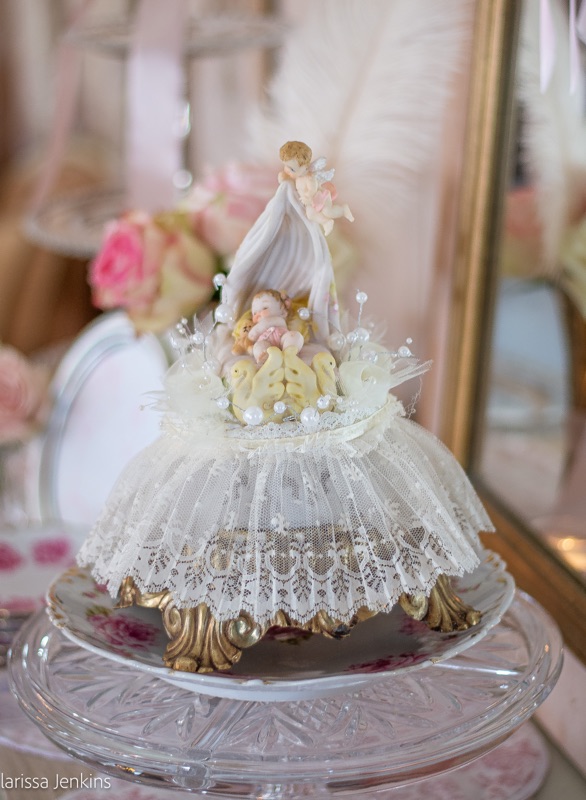
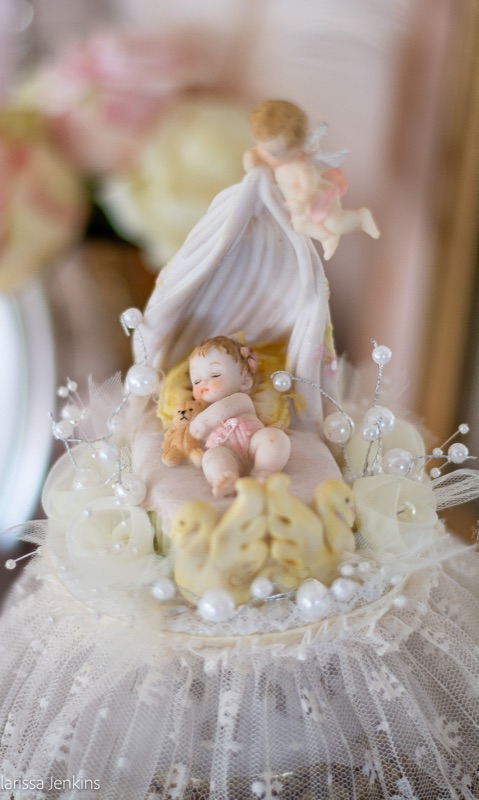
I topped her birthday cake with a vintage birthday angel figurine.
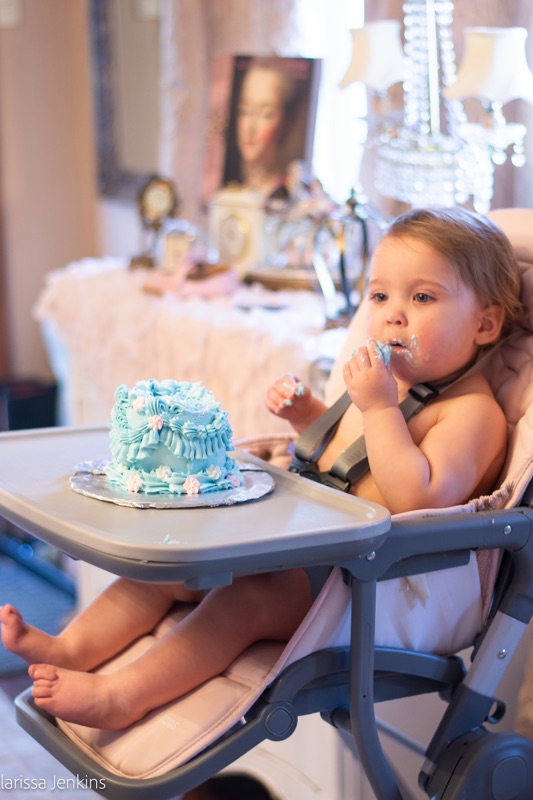
I even made her a special smash cake to go along with her big birthday cake. She absolutely loved it. She loves sweets so much.
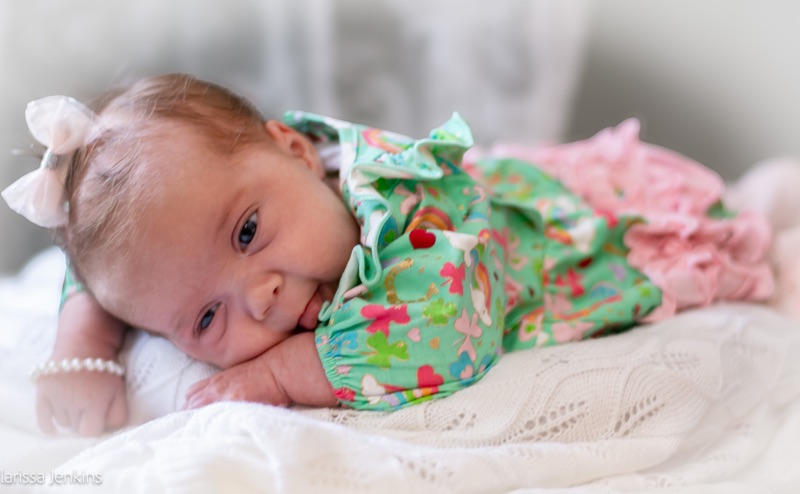
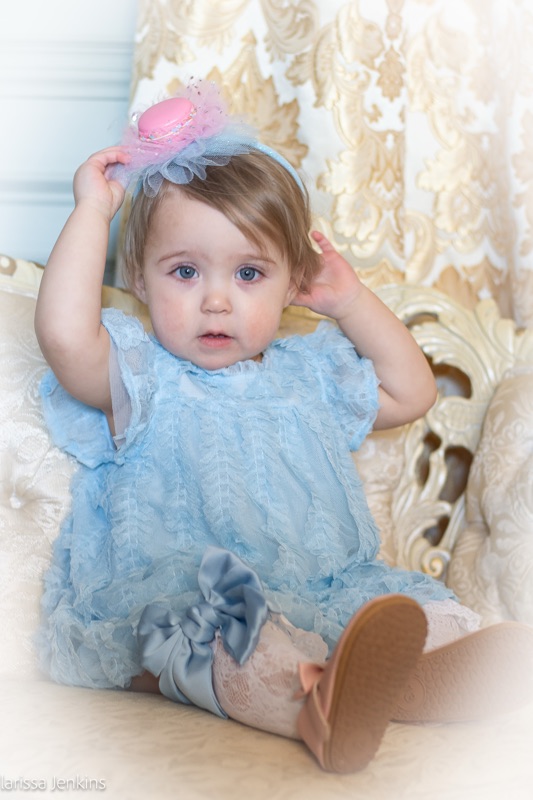
I thought I wanted to have her wear a birthday crown for her birthday party, but it just didn’t feel right. I finally came across a macaron headband on Etsy and it was perfect.
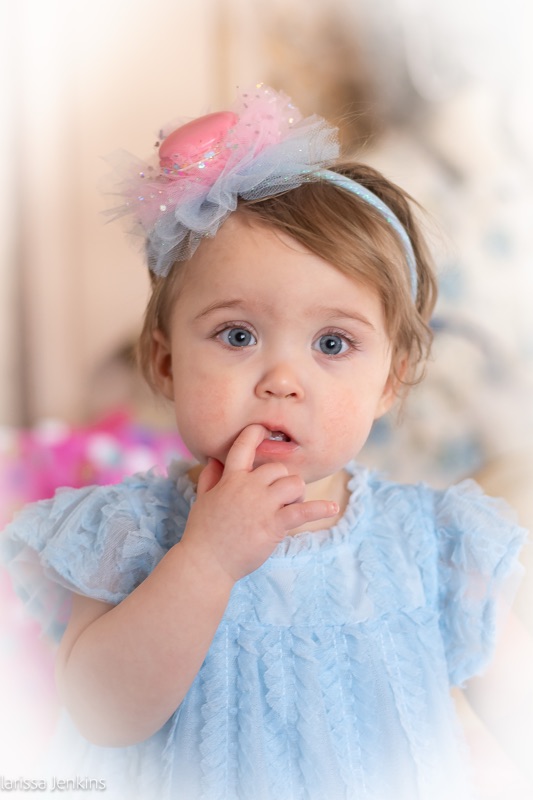
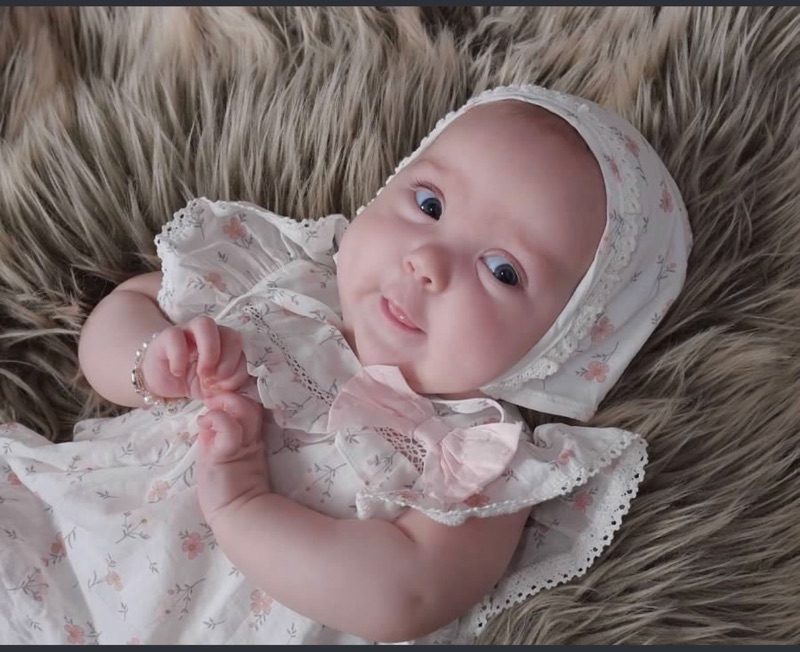
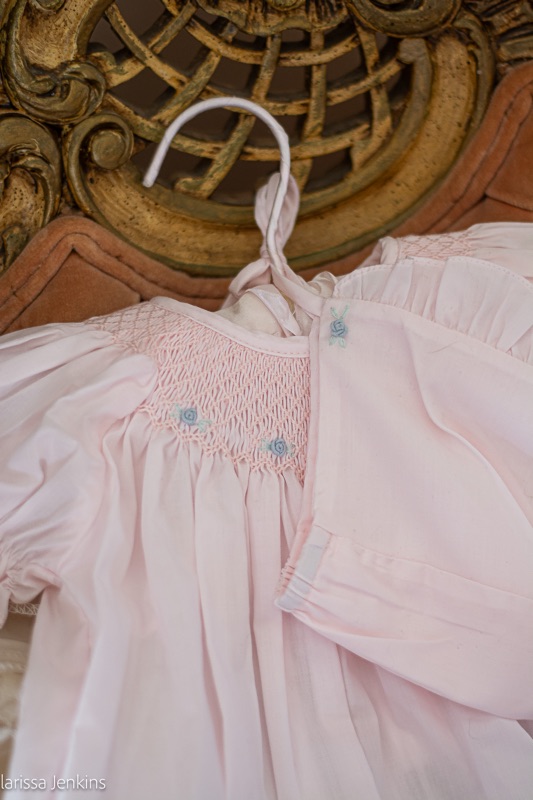
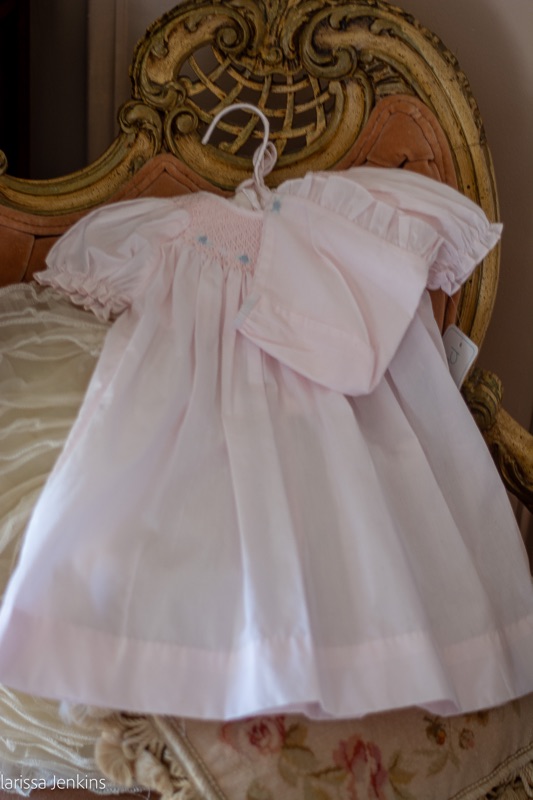
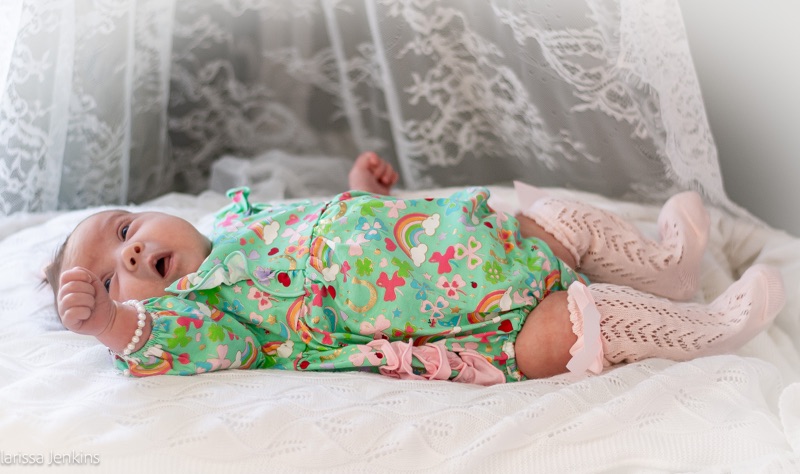
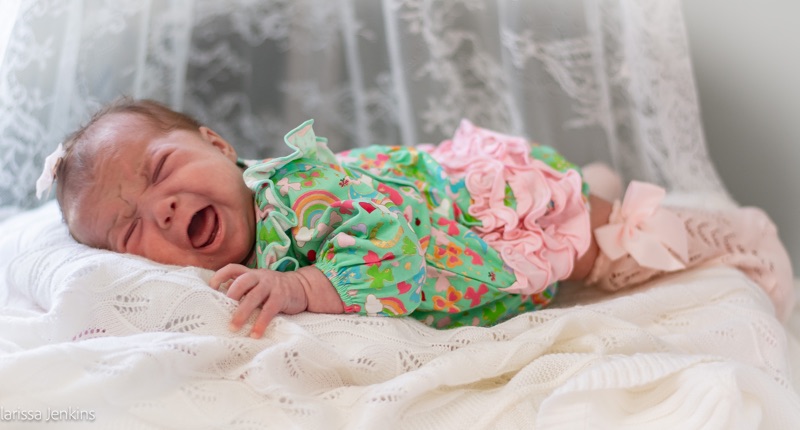
Her dress was so pretty with its ruffles. It reminded me of a vintage dress.I am saving it for her so maybe she can dress her daughter in it one day.
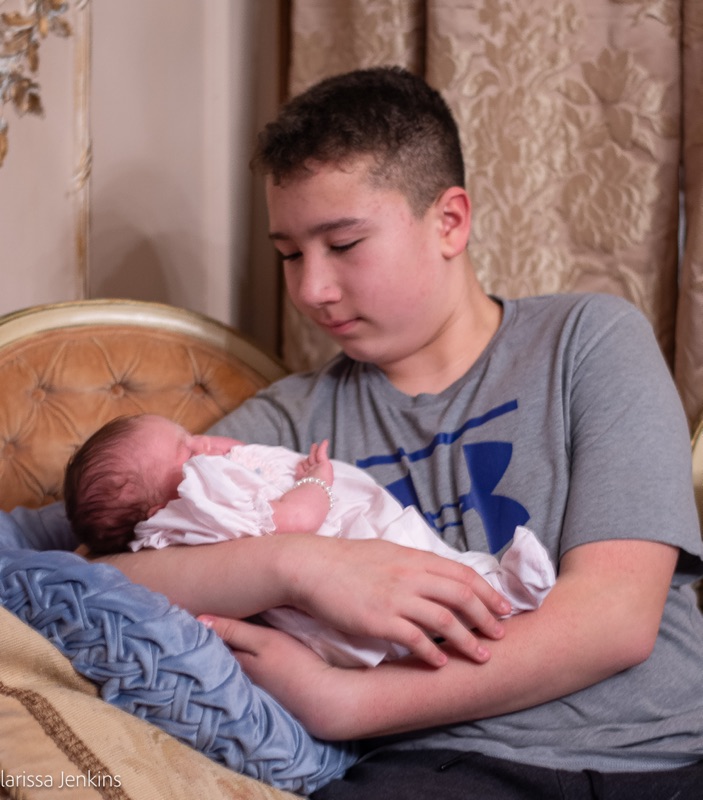
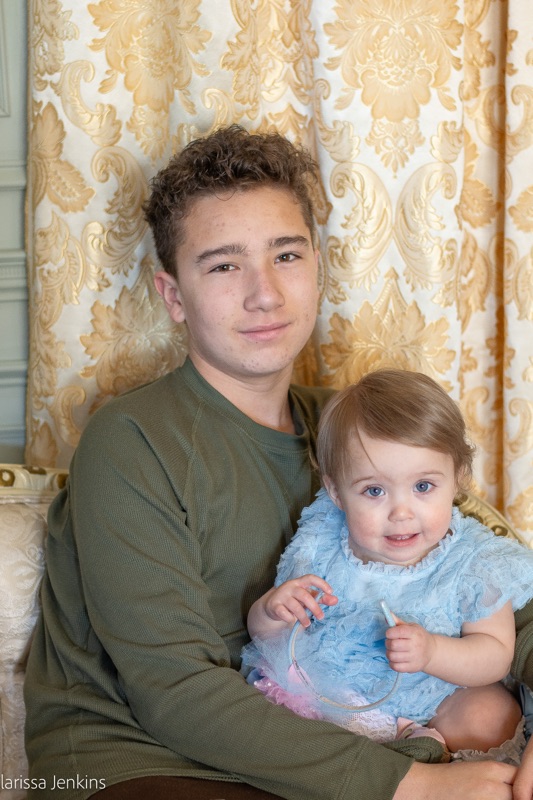
Here are my two babies. Delaine is such a big help to me with Contessa. He’s really grown up. DShe loves her big brother so much.
I tried my best getting photos of the big day as well as videos for reels and memories. I’m not really big on taking photos on birthdays and holidays because I feel like I’m missing out on just being in the moment. I don’t feel like I’m really present, but I tried my best.
So I took all of these pictures in about five minutes before everyone got there, and I think they turned out ok.
It’s nice to be able to look back on the memories.
Thank you for being our guest today!
-Larissa