async='async' data-ad-client='ca-pub-1704385665578974' src='https://pagead2.googlesyndication.com/pagead/js/adsbygoogle.js'/> March 2019 - Welch House 1900

The Painted Lady


When we came to look at Welch House one of the first things that I noticed was a very unassuming piano in the living room. It was an extremely dark wood, almost black and very plain.
It stood quietly in the living room not giving up any secrets of it's past life and no one offered an explanation for it, except that it would be staying with the house.


So I moved the quiet unassuming piano to the dining room and there it sat for several years...never quite fitting in with its surroundings. One day I couldn't resist any longer and added a coat of white creamy paint to the piano. It seemed happier after that...but still something was missing.


So after a while I gifted the little plain piano a piece of jewelry of sorts..a beautiful floral wreath appliqué.


Then came a lovely set of vintage Italian tole sconces... yet still something was not quite right.


After a lot of debate on my part and second guessing myself, I decided to take a leap of faith and ordered a gorgeous pink chalk paint from Annie Sloan, called Antoinette. After brushing on a few strokes of the pale pink paint I could almost hear the piano sigh with happiness. With just two coats of paint she was transformed.


 Finally the unassuming little piano fits in with her surroundings, a true beauty. We have been working on a new look in the dining room. Its been months of stripping wallpaper, repairing walls and gallons of white paint.


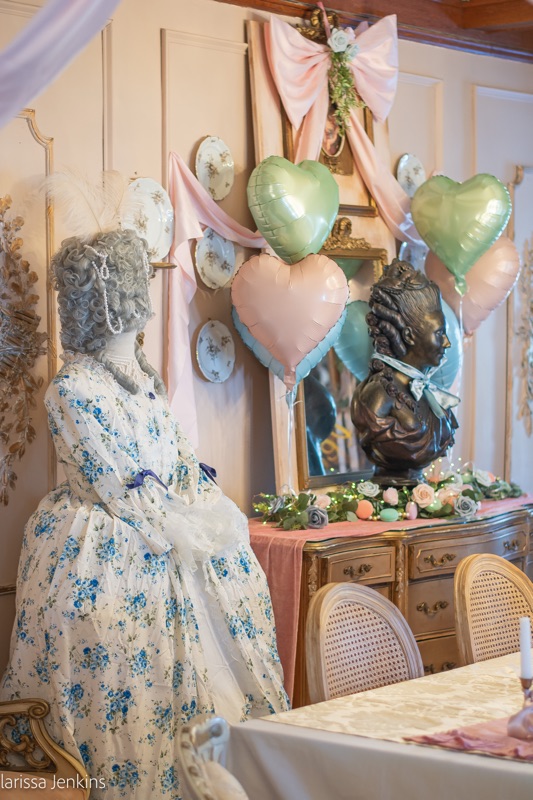
Gorgeous wall panels have been added and slowly the dining room is taking on a fresher old world look.


The newly painted pink piano shines against the crisp white walls.


She is content with her place in the world.


Its a joy to walk into the dining room now and see this painted beauty. I'm so happy that I took a decor risk and ended up adding some unexpected charm to a very plain piano with a coat of pink paint.


Have you ever taken a decor risk and ended up with a beautiful outcome?

-Larissa

Simply Shabby Chic Tissue Paper Bunny

Now that Saint Patrick's Day has passed, its time to turn our attention to Spring and Easter decorating! I have to be honest when I say that I really don't have much of either decor! So the other night while I was shopping at TJMaxx and spotted a sweet tissue paper bunny, inspiration hit! I knew that I could make my own using supplies I already had on hand.


Supplies you will need for this project

*Rabbit form (foam, plastic, wood, paper mache whichever you prefer)

*Pretty floral tissue paper or napkins

*Mod Podge

*Foam or regular paintbrush 

*Scissors


My rabbits are actually Target clearance items from a few years ago and I think I only paid about a dollar each for them. My favorite part of this project is the tissue paper! I have been saving this Rachel Ashwell Simply Shabby Chic tissue paper for several years because I had no idea what to do with it, and I was definitely not going to waste it by stuffing it in a package! Lol I am a bit of a hoarder when it comes to SSC items and if some of you are as well, then you might have a bit of this tissue laying around!


Look how soft and pretty the tissue is!


First thing you will need to do is cut the tissue into strips. You can do any size, but I chose to cut where the tissue already had fold lines.


Next you will need to use your paint brush to paint an area of Mod Podge on your rabbit the size of the tissue that you have already cut. Lay the tissue on the area of Mod Podge and press it down with your paint brush. Use more Mod Podge to coat the top of tissue to seal it and help it lay down easier.


Keep repeating this step until you have your whole bunny covered. You may need to cut smaller pieces occasionally to get into hard to reach areas.


Once your bunny is covered, start adding more layers until you are satisfied with the look of your tissue paper bunny. If I had a spot that didn't quite have enough of the floral print I just cut a small piece of the floral part out and pasted it to where I wanted it.


Let your bunny dry overnight.

If you wanted to, you could also add a ribbons and jewels to your bunny to dress her up. I chose to keep mine simple as not to take away from the gorgeous SSC print.


But now that my bunnies are finished, I may add sweet little diamonds for their eyes at some point. I have some vintage bunnies that have diamond eyes and I love the look.


 I decided to display my bunnies in my shabby French style office. They look so pretty with my Rachel Ashwell prints that I use in there already.


I'm so happy that I made these! They will definitely be keepsakes for sure! I hope you are inspired to make your own!

-Larissa

For The Love of Green


Hello Friends! I'm so excited to be a part of this awesome blog hop hosted by my dear friend Amber at Follow The Yellow Brick Home! Thank you so much Amber for putting this together!

If you are just coming over from Kristin's gorgeous log home at White Arrows Home, Welcome to Welch House! I hope you are able to find some inspiration here!

With Saint Patricks day approaching, a lot of people are bringing out their green decor. I thought I would share with you how I incorporate green into my kitchen all year long, as it is one of my very favorite colors.

I have a very special green cabinet that was once used by my Great-parents and my Grandparents as a place to store their canning jars. It sat lonely and unused until I rescued it from my parent's basement about 8 years ago. 


I absolutely love the original green paint and the patina that it has. I painted the tongue and groove walls a historic pale pink.


I don't do a lot of St. Patrick's day decor, but seeing as I am Irish, I decided to make a cute Vintage Irish couple for my cabinet.


I found these darling printables at The Graphics Fairy. After I printed them out, I stabilized them with  foam board, and ta-da!!! They are absolutely festive and elegant.


I recently found the green rimmed vintage plates at an estate sale and the depression era green glassware  I found at a garage sale! I love the intricate details on the glassware, and they look pretty as vases for my fresh roses.


The embroidered lace panel I ordered from off of Etsy. It came from France and I love how it dressed up my cabinet.


The skirt for my cabinet is made out of a sheet from Target. The sheets are pink and white striped and are from the Simply Shabby Chic Collection. I think it adds a sweet touch to the cabinet.


 Just beyond the green cabinet, is a small hallway that connects the dining room to the kitchen and also leads to a powder room. I chose a beautiful green French style wallpaper for this space. I love the gorgeous florals and exotic birds that are printed on it.


I fell in love with this wallpaper as soon as I saw it! It looks beautiful in this small cozy space.


To open up the space a bit, I hung an ornate gold mirror which is also a thrift store find! Interesting fact..when I purchased the mirror, the employees at the thrift store told me that it had been donated by the local funeral home! Well that didn't stop me from taking this beauty home!


Our kitchen is also home to a gorgeous green antique stove! This stove has been with me through several decor changes and three homes! I don't cook on it, I use it only for decoration.


The last several years its been a tradition for my little boy Delaine and I to make Leprechaun cupcakes! He is always is excited to bake these!


His very favorite part is the vintage Leprechaun men on top!


We always add colorful sprinkles.


These adorable cupcakes don't last too long around here!


A never before seen view of my kitchen...to the left is the dining nook. The kitchen is a very difficult area for me to photograph, so thats why I don't show it very often!


I hope you enjoyed seeing a little bit more of my home and have come to love the many different shades of green as much as I do!


Thank you so much for visiting!

-Larissa